
Example: Picker in Android Dialog
We can display pickers in dialog. We already know about picker views. For this you have to open your IDE and create a project. Name it as you like. I am naming it DialogPickerExample app. Open the activity_main.xml file and code it as shown in the following listing:
<RelativeLayout xmlns:android="http://schemas.android.com/apk/res/android"
    xmlns:tools="http://schemas.android.com/tools"
    android:layout_width="match_parent"
    android:layout_height="match_parent"
    android:paddingBottom="@dimen/activity_vertical_margin"
    android:paddingLeft="@dimen/activity_horizontal_margin"
    android:paddingRight="@dimen/activity_horizontal_margin"
    android:paddingTop="@dimen/activity_vertical_margin"
    tools:context=".MainActivity" >
    <TextView
        android:id="@+id/textView1"
        android:layout_width="wrap_content"
        android:layout_height="wrap_content"
        android:layout_alignParentTop="true"
        android:layout_centerHorizontal="true"
        android:layout_marginTop="18dp"
        android:text="Picker In Dialog" />
    <Button
        android:id="@+id/buttonPicker"
        style="?android:attr/buttonStyleSmall"
        android:layout_width="wrap_content"
        android:layout_height="wrap_content"
        android:layout_alignParentBottom="true"
        android:layout_centerHorizontal="true"
        android:layout_marginBottom="30dp"
        android:text="Show" />
    <DatePicker
        android:id="@+id/datePicker"
        android:layout_width="wrap_content"
        android:layout_height="wrap_content"
        android:layout_above="@+id/buttonPicker"
        android:layout_centerHorizontal="true"
        android:layout_marginBottom="51dp" />
    <TimePicker
        android:id="@+id/timePicker"
        android:layout_width="wrap_content"
        android:layout_height="wrap_content"
        android:layout_below="@+id/textView1"
        android:layout_centerHorizontal="true"
        android:layout_marginTop="34dp" />
</RelativeLayout>
Figure - activity_main.xml file of Android dialog with picker
Graphical layout of app should be similar to the following snapshot:
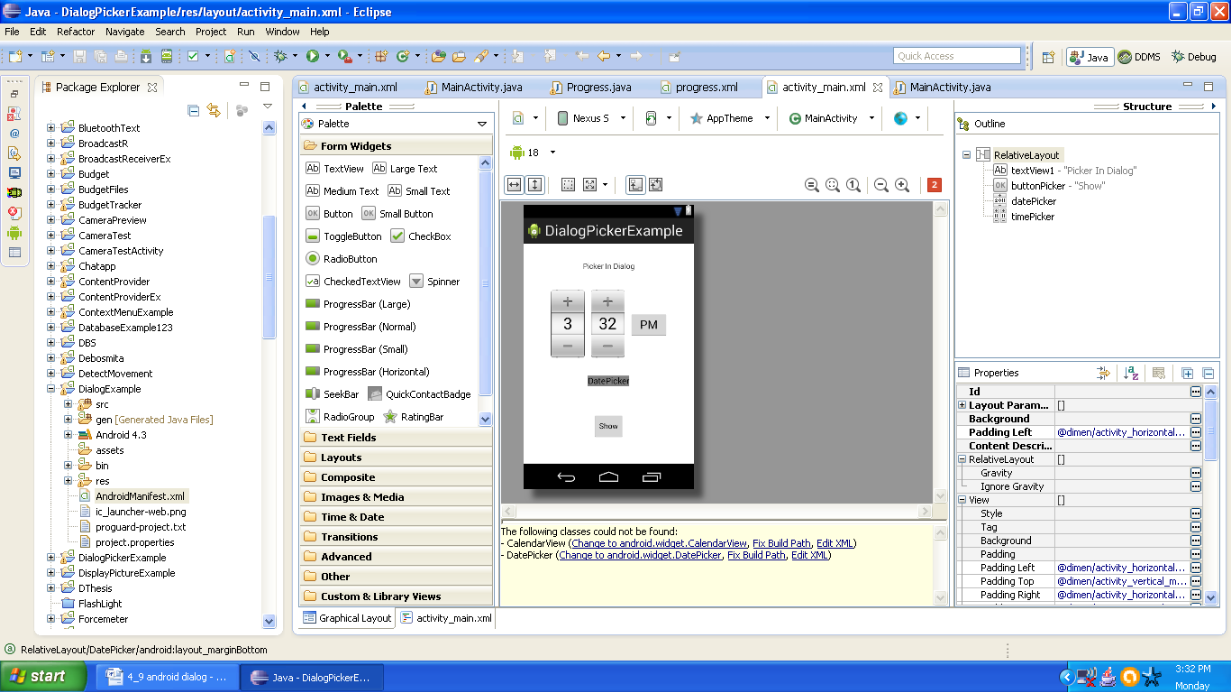
Figure - Graphical layout of Android dialog with picker app
Open your main activity file and code it as shown in the following listing:
import android.app.Dialog;
import android.app.TimePickerDialog;
import android.os.Bundle;
import android.view.Menu;
import android.view.View;
import android.widget.Button;
import android.widget.DatePicker;
import android.widget.TimePicker;
import android.widget.Toast;
public class MainActivity extends Activity {
    TimePicker timePicker;
    DatePicker datePicker;
    int hour, minute;
    int year, month, day;
    static final int TIME_DIALOG_ID = 0;
    static final int DATE_DIALOG_ID = 1;
    @Override
    protected void onCreate(Bundle savedInstanceState) {
        super.onCreate(savedInstanceState);
        setContentView(R.layout.activity_main);
        Calendar today = Calendar.getInstance();
        year = today.get(Calendar.YEAR);
        month = today.get(Calendar.MONTH);
        day = today.get(Calendar.DAY_OF_MONTH);
        showDialog(DATE_DIALOG_ID);
        timePicker = (TimePicker) findViewById(R.id.timePicker);
        timePicker.setIs24HourView(true);
        datePicker = (DatePicker) findViewById(R.id.datePicker);
        Button show = (Button) findViewById(R.id.buttonPicker);
        show.setOnClickListener(new View.OnClickListener() {
            @Override
            public void onClick(View v) {
                // TODO Auto-generated method stub
                Toast.makeText(
                        getBaseContext(),
                        "Date Selected:" + datePicker.getMonth() + "/"
                                + datePicker.getDayOfMonth() + "/"
                                + datePicker.getYear() + "\n"
                                + "Time Selected: "
                                + timePicker.getCurrentHour() + ":"
                                + timePicker.getCurrentMinute(),
                        Toast.LENGTH_LONG).show();
            }
        });
    }
Figure - First half of code for Android dialog with picker app
Second half of code is as shown in the following listing:
package com.android.tution.PickerDialog;
import java.util.Calendar;
import android.app.Activity;
import android.app.DatePickerDialog;
@Override
    protected Dialog onCreateDialog(int id) {
        switch (id) {
        case TIME_DIALOG_ID:
            return new TimePickerDialog(this, mTimeSetListener, hour, minute,
                    false);
        case DATE_DIALOG_ID:
            return new DatePickerDialog(this, mDateSetListener, year, month,
                    day);
        }
        return null;
    }
    private DatePickerDialog.OnDateSetListener mDateSetListener = new DatePickerDialog.OnDateSetListener() {
        @Override
        public void onDateSet(DatePicker view, int Myear, int monthOfYear,
                int dayOfMonth) {
            // TODO Auto-generated method stub
            year = Myear;
            month = monthOfYear;
            day = dayOfMonth;
            Toast.makeText(
                    getBaseContext(),
                    "You have selected : " + (month + 1) + "/" + day + "/"
                            + year, Toast.LENGTH_SHORT).show();
        }
    };
    private TimePickerDialog.OnTimeSetListener mTimeSetListener = new TimePickerDialog.OnTimeSetListener() {
        @Override
        public void onTimeSet(TimePicker view, int hourOfDay, int minutes) {
            // TODO Auto-generated method stub
            hour = hourOfDay;
            minute = minutes;
            Toast.makeText(getBaseContext(),
                    "You have selected: " + hour + ":" + minute,
                    Toast.LENGTH_SHORT).show();
        }
    };
    @Override
    public boolean onCreateOptionsMenu(Menu menu) {
        // Inflate the menu; this adds items to the action bar if it is present.
        getMenuInflater().inflate(R.menu.main, menu);
        return true;
    }
}
Figure - Second half of code Android dialog with picker app
Last task is our manifest file. Open it and cross check with the following listing:
<?xml version="1.0" encoding="utf-8"?>
<manifest xmlns:android="http://schemas.android.com/apk/res/android"
    package="com.android.tution.PickerDialog"
    android:versionCode="1"
    android:versionName="1.0" >
    <uses-sdk
        android:minSdkVersion="8"
        android:targetSdkVersion="18" />
    <application
        android:allowBackup="true"
        android:icon="@drawable/ic_launcher"
        android:label="@string/app_name"
        android:theme="@style/AppTheme" >
        <activity
            android:name="com.android.tution.PickerDialog.MainActivity"
            android:label="@string/app_name" >
            <intent-filter>
                <action android:name="android.intent.action.MAIN" />
                <category android:name="android.intent.category.LAUNCHER" />
            </intent-filter>
        </activity>
    </application>
</manifest>
Figure - manifest file of app
We are done. Create a suitable emulator and run the application. Output should be similar to the following snapshot:
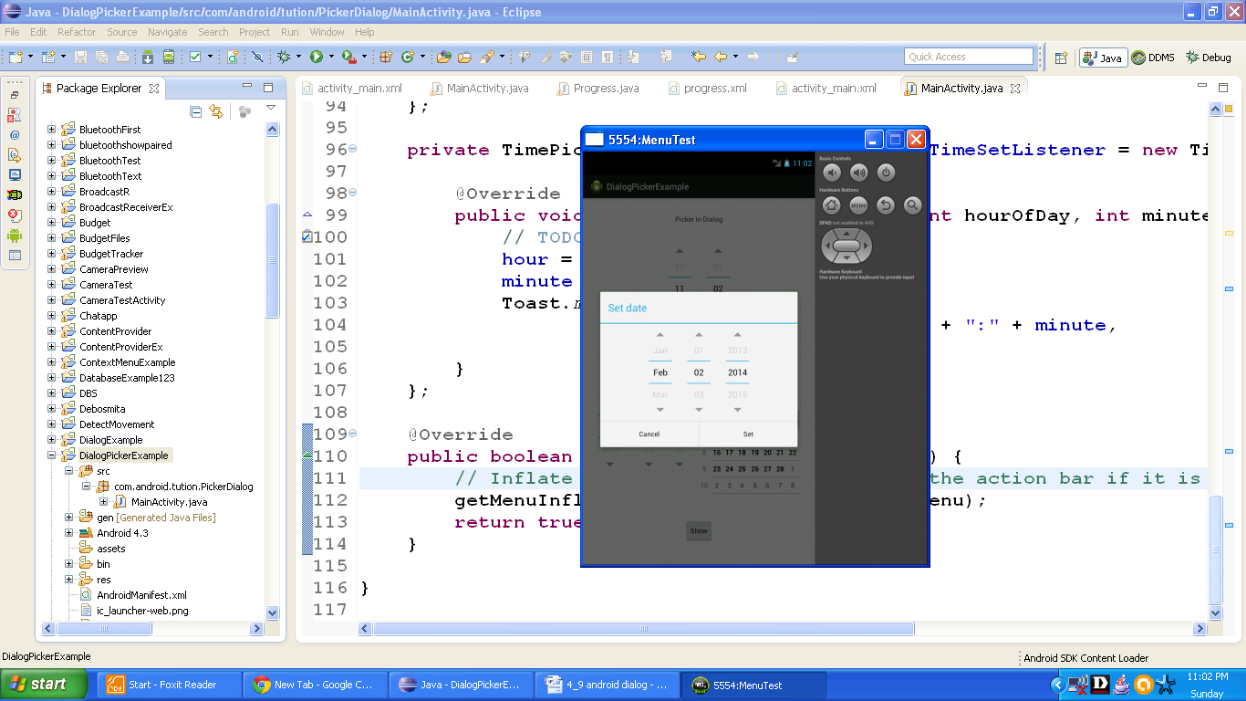
Figure - Displaying date picker in Android dialog window
As soon as you press the button saying set. Date will be set and you would be reverted to the home screen of application. A message about your date set up would be displayed. If you want to change time then you can reset in the picker view directly. Output should be similar to the following snapshot:

Figure - Message is displayed about the date selection
Time and date are set. Now press the button saying Show and today’s date and time will be displayed. Output should be similar to the following snapshot:
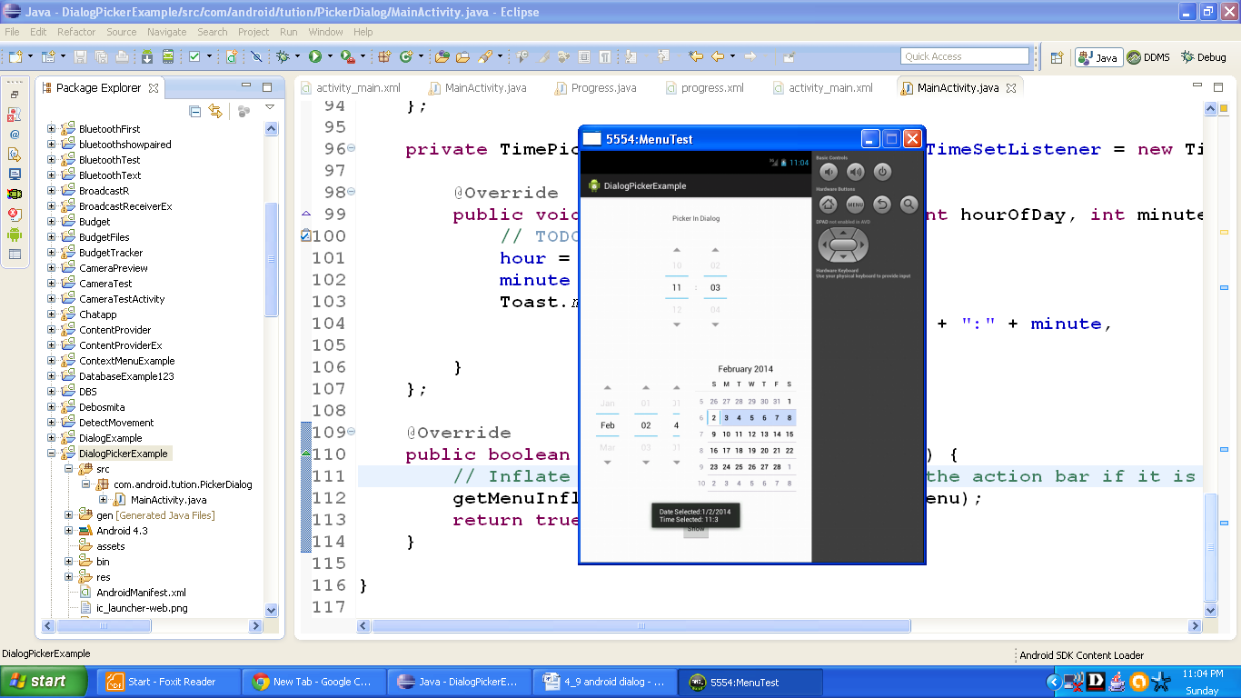
Figure - Output of Android DialogPickerExample app
Congratulations buddies!! We are done. See you in the next section. Till then keep practicing. Happy App Developing!!