
Testing the Web Service using SoapUI
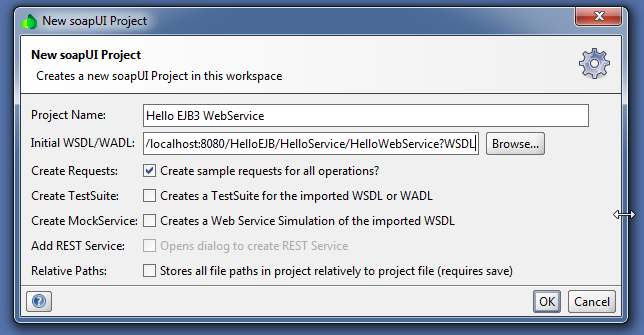
Now, we will use SoapUI to test our web service and check that it is working properly till now, after installing SoapUI, start it, then create a new Project for our web service
The following will appear in SoapUI projects tree
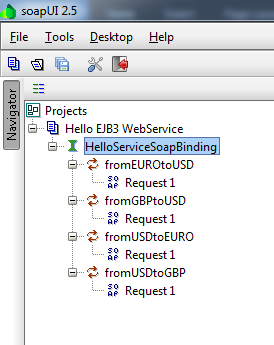
Now double click on Request1 under fromEUROtoUSD, a request window will show up
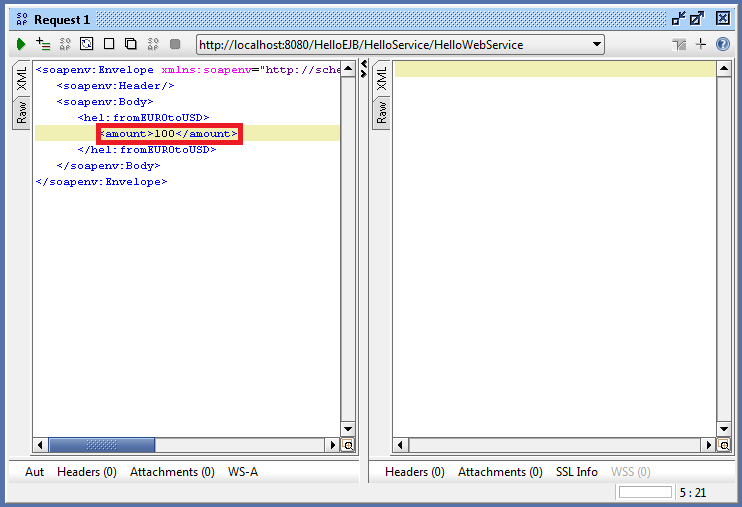
Remove the “?” character and replace it with “100”, now click the green play button to send the request to the web service, the following response should appear:
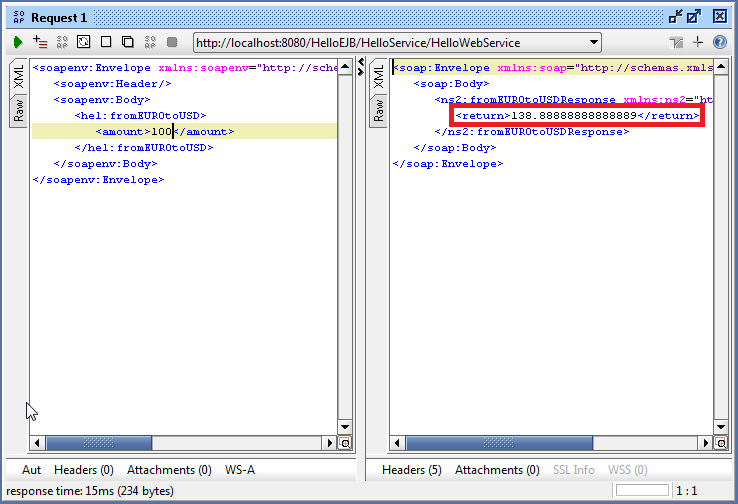
If you got the same as I got, then your web service is working properly till now, note that 138.888... = 100 / 0.72.
Now, after testing what we have done, let’s continue to do other aspects of our Hello World EJB project, the security part.
Adding Authentication/Authorization Security Model to the Web Service
In this part we will add a security level for our web service so that just registered users can access the web service. They should not be able to access all methods, but only the allowed methods as configured in the database table S_USER_ROLE.
Before we continue, shutdown JBOSS from eclipse “Servers” view or directly kill the process from the “Console” view.
Modify the web service EJB class to look like the following:
package com.test.hello;

import javax.annotation.security.DeclareRoles;
import javax.annotation.security.RolesAllowed;
import javax.ejb.Stateless;
import javax.jws.WebMethod;
import javax.jws.WebParam;
import javax.jws.WebService;

import org.jboss.ejb3.annotation.SecurityDomain;
import org.jboss.ws.api.annotation.WebContext;

@SecurityDomain("HelloWS")
@Stateless
@WebService(serviceName = "HelloService")
@WebContext(authMethod = "BASIC", urlPattern = "/*", secureWSDLAccess = false)
@DeclareRoles({ "CLIENT", "FROM_USD_TO_GBP", "FROM_GBP_TO_USD",
        "FROM_USD_TO_EURO", "FROM_EURO_TO_USD" })
@RolesAllowed("CLIENT")
public class HelloWebService {

     @RolesAllowed("CLIENT")
     public void ping() {

     }
     @WebMethod
    @RolesAllowed("FROM_USD_TO_GBP")
    public double fromUSDtoGBP(@WebParam(name = "amount") double amount) {
        return amount * 0.60;
    }
    @WebMethod
    @RolesAllowed("FROM_GBP_TO_USD")
    public double fromGBPtoUSD(@WebParam(name = "amount") double amount) {
        return amount / 0.60;
    }
    @WebMethod
    @RolesAllowed("FROM_USD_TO_EURO")
    public double fromUSDtoEURO(@WebParam(name = "amount") double amount) {
        return amount * 0.72;
    }
    @WebMethod
    @RolesAllowed("FROM_EURO_TO_USD")
    public double fromEUROtoUSD(@WebParam(name = "amount") double amount) {
        return amount / 0.72;
    }
}
Note that we added @RolesAllowed on all the methods and also @SecurityDomain on the class header. We also added a new method called ping secured with the “CLIENT” role as the default role.
Now, we will modify JBOSS configuration files to add a security domain to secure the web service with the domain name that will be the same as the name passed to @SecurityDomain annotation, which is HelloWS.
Note: Don’t worry if you missed something in this chapter, all the chapter sections will be explained in details in the next chapters.
But as the security domain will connect to our database to get the users list and check for passwords and roles, we will need to create a DataSource first.
Open file JBOSS HOME/standalone/configuration/standalone-full.xml with a text editor. like Notepad++, under the section “<datasources>”, add the following lines:
<datasource jta="true" jndi-name="java:/TestEJB3DS" pool-name="TestEJB3DS" enabled="true" use-ccm="false">
    <connection-url>jdbc:mysql://localhost:3306/test_ejb3_db</connection-url>
    <driver-class>com.mysql.jdbc.Driver</driver-class>
    <driver>mysql-connector-java-5.1.30-bin.jarcom.mysql.jdbc.Driver_5_1</driver>
    <security>
        <user-name>root</user-name>
    </security>
    <validation>
        <validate-on-match>false</validate-on-match>
        <background-validation>false</background-validation>
    </validation>
    <statement>
        <share-prepared-statements>false</share-prepared-statements>
    </statement>
</datasource>
Where 3306 is your MySQL server port and root/password is your username and password used to access MySQL. In case you used a blank password for MySQL then set the password tag value to blank.
Now, it’s the time to create the security domain for our web service, under the subsystem “security-domains” add the following lines:
<datasource jta="true" jndi-name="java:/TestEJB3DS" pool-name="TestEJB3DS" enabled="true" use-ccm="false">
    <connection-url>jdbc:mysql://localhost:3306/test_ejb3_db</connection-url>
    <driver-class>com.mysql.jdbc.Driver</driver-class>
    <driver>mysql-connector-java-5.1.30-bin.jarcom.mysql.jdbc.Driver_5_1</driver>
    <security>
        <user-name>root</user-name>
    </security>
    <validation>
       <validate-on-match>false</validate-on-match>
        <background-validation>false</background-validation>
    </validation>
    <statement>
        <share-prepared-statements>false</share-prepared-statements>
    </statement>
</datasource>
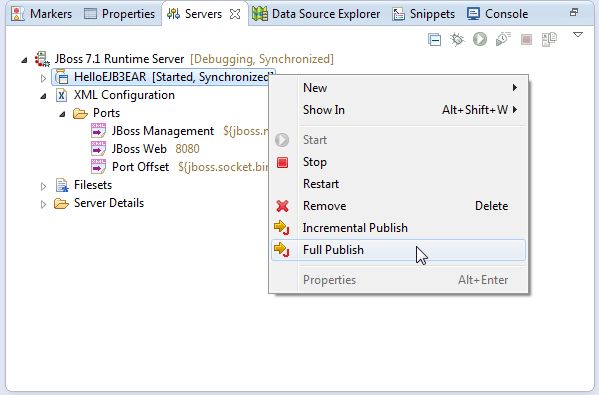
Now let’s test our web service again using SoapUI. Start JBOSS again to republish the EAR:
IMPORTANT NOTE:
JBOSS may fail to deploy the web service EAR due to missing MySQL jdbc jar. In case that happened, go to JBOSS/standalone/deployments and you will find a file called “mysql-connector-java-5.1.30-bin.jar.deployed.failed”. Delete that file and wait till it becomes “mysql-connector-java-5.1.30-bin.jar.deployed”. Sure you should keep JBOSS running during these steps, also you will find a file called “HelloEJB3EAR.ear.deployed.failed” delete that file and JBOSS will try to deploy the web service EAR again.
In case you closed SoapUP since last test, then go back to that test section and repeat the steps again, now as noted the result of the request fromEUROtoUSD changes to be like the following:
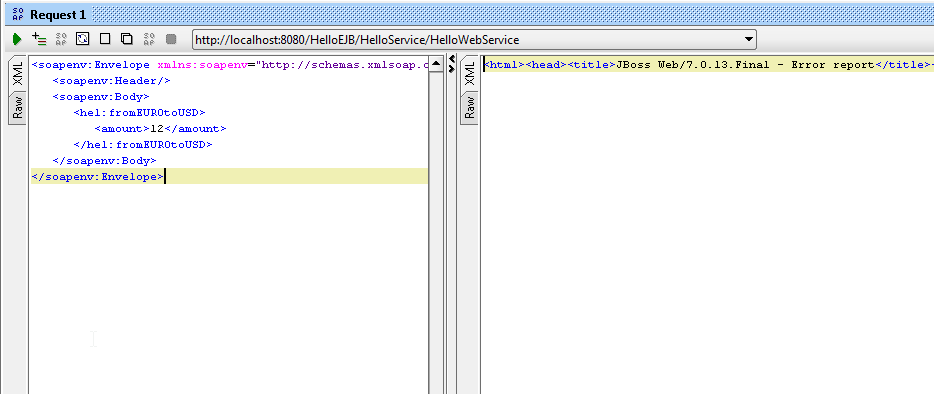
The response means you are not allowed to access the web service (not authenticated), now let’s add username and password to authenticate the web service access. In SoapUI, click the button “Aut” below the request XML.
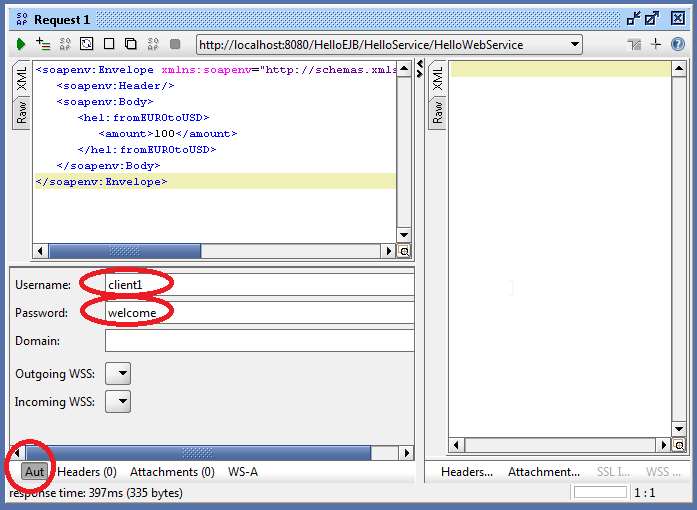
In the username text field, type “client1” and for the password type “welcome’, now try to send the request again, the following response will appear:
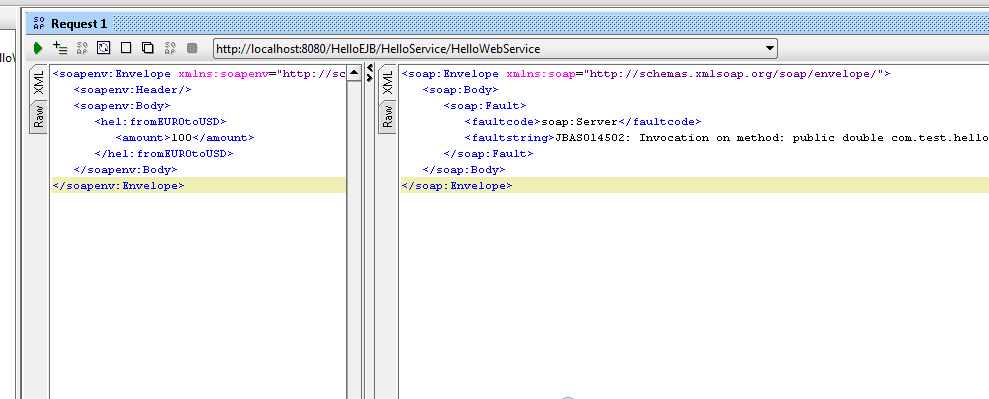
The full response is as follows:
<soap:Envelope xmlns:soap="http://schemas.xmlsoap.org/soap/envelope/">
   <soap:Body>
      <soap:Fault>
         <faultcode>soap:Server</faultcode>
         <faultstring>JBAS014502: Invocation on method: public double com.test.hello.HelloWebService.fromEUROtoUSD(double) of bean: HelloWebService is not allowed</faultstring>
      </soap:Fault>
   </soap:Body>
</soap:Envelope>
The response means that the web service rejected our request as we are not authorized to access it, but we were authenticated by the web service successfully, now let’s change the username we used from client1 to client2 and recheck again. The following response will appear in the response window:
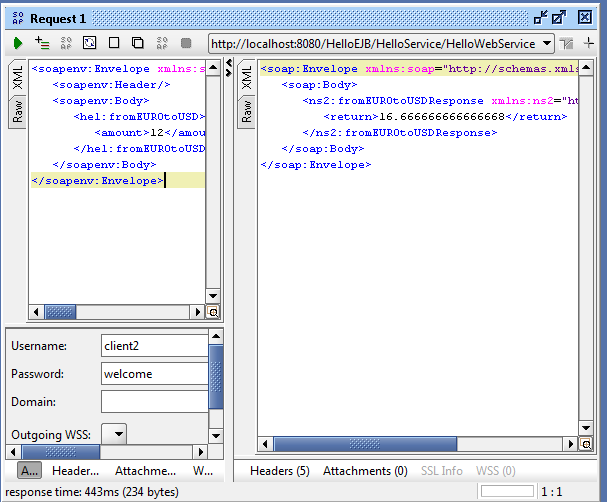
The response now means that we were authenticated to access the web service and also we were authorized to access the method fromEUROtoUSD as client2 has the role FROM_EURO_TO_USD.
Now let’s move to the next section in this Hello EJB application, adding the database operations.