
3.1 Overview
We would need an environment to develop and run applications to interact with database using Java Database Connectivity (JDBC). By environment we mean to install all the required software and tools. In this chapter we will discuss how to set up development and runtime environment. We will use MySQL database so in this tutorial you will find information on installation and tools related to MySQL database.
Following tools and software are needed.
- Java.
This step involves
- downloading and installing Java version 7
- setting environment variables (JAVA_HOME and PATH) appropriately.
All the details are covered in Section 3.2.
- Eclipse ( Integrated Development Environment Set Up)
This step involves installation of Eclipse IDE. Refer section 3.3 for more details.
- Download and install MySQL database and workbench
This section outlines the steps to download and install MySQL database and MySQL workbench to manage the database .Details available in section 3.5
3.2 Download and install Java.
Java is available in two editions (Standard Edition J2SE and Enterprise Edition J2EE ).For J2EE features like EJB, JMS,CDI etc , we would need Enterprise Edition(J2EE).
Java is freely available for download for all operating systems on Oracle’s Java website so you need to download the latest version from http://www.oracle.com/technetwork/java/javase/downloads
Follow below steps to install both JDK and JRE.
(JDK is java development kit required to develop the programs where as JRE is java runtime environment needed to run the programs )
In this tutorial I will follow the instructions for Windows Operating System. I have downloaded and installed java version 7 (refer below figure).
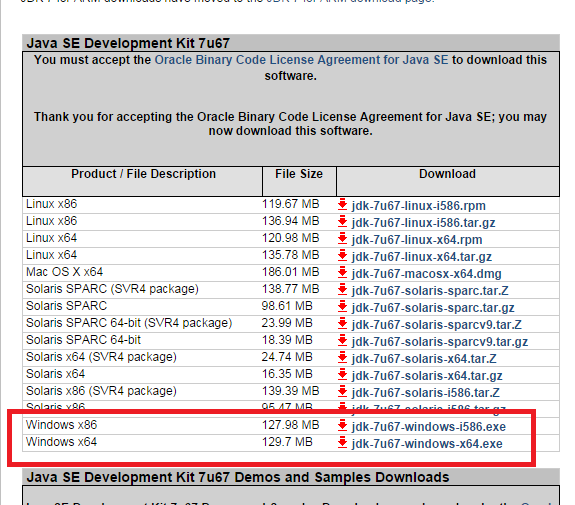
Download the executable file depending on operating system (windows 32 bit or windows 64 bit ) and install it. This is quite simple but one thing that you need to do is setting the environment variables.
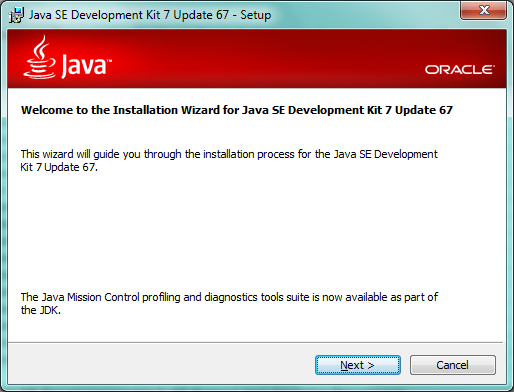
Below are the screens that you will see while installing Java on your machine.
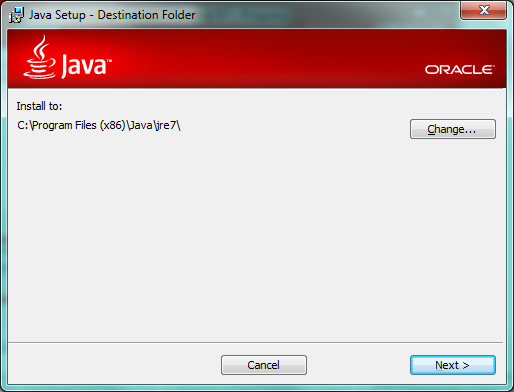
Change the path on next screen if you want to (highlighted in below figure). I have installed it at C:\Program Files (x86)\Java\jdk_1.7.0_67 location
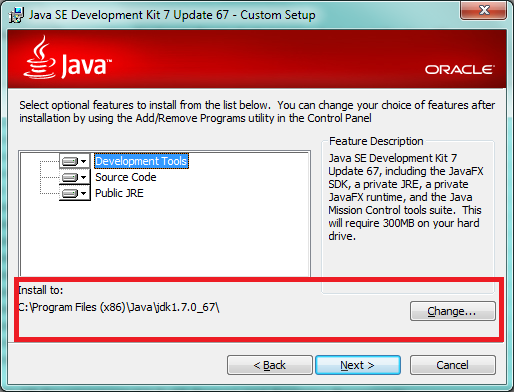
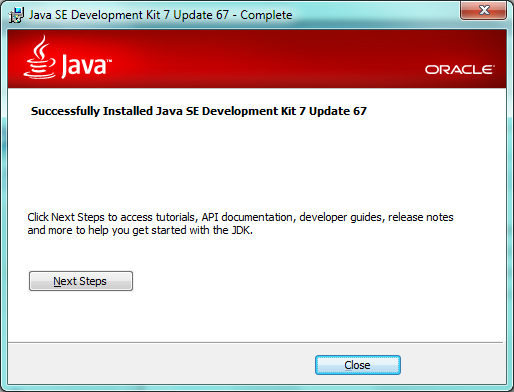
Click Close.
Now you need to create and update below environment variables.
a)JAVA_HOME – Create a new environment variable JAVA_HOME and set its value to the installation directory of Java. For example if you have installed it in “C:\Program Files (x86)\Java\jdk1.7.0_67“ , you need to set its value as C:\Program Files (x86)\Java\jdk1.7.0_67
b) PATH- This is an existing environment variable and you just need to update it. Add the JAVA_HOME variable with bin.
Example – if JAVA_HOME is set to C:\Program Files (x86)\Java\jdk1.7.0_67 then Path variable will be updated with
PATH=%PATH%;C:\Program Files (x86)\Java\jdk1.7.0_67/bin;
Alternatively
PATH=%PATH%;%JAVA_HOME%/bin;
Other way to set the environment variable on windows platform is
Right Click On My ComputeràPropertiesàAdvanced system settingsàEnvironment Variables
You can add it either as a User variable or a system variable. Only difference is that System Variables will be available to all users of the system.
Other way is to add below lines in C:\autoexec.bat
set JAVA_HOME= C:\Program Files (x86)\Java\jdk1.7.0_45
set PATH=%PATH%;%JAVA_HOME%/bin;
Note - C:\Program Files (x86)\Java\jdk1.7.0_45 is example value. You need to use you own java installation directory path
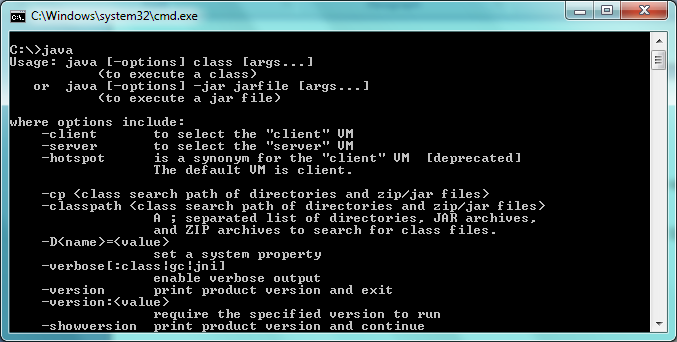
Verification- You can verify the java installation by opening a command prompt and type a java . If everything is correct, it will show you several java options (refer to below figure)
3.3 Eclipse - Integrated Development Environment
We can write java programs using any text editor but several IDE are freely available. I would encourage use of IDE because IDE provides us several features like -
- we can manage the web server like Tomcat,
- develop programs and web application
- need not to remember the exact methods and their signatures
- compilation errors are clearly highlighted
There are several IDEs available like NetBeans, Eclipse etc. We will use Eclipse in this tutorial.
Download the latest eclipse version (Eclipse Kepler) from http://www.eclipse.org/downloads/packages/release/Kepler/SR2 and unzip it in directory of your choice . You need to download Eclipse IDE for Java EE Developers and not Eclipse Standard
I normally unzip into the top level of the D drive, resulting in D:\ eclipse-standard-kepler-SR2-win64
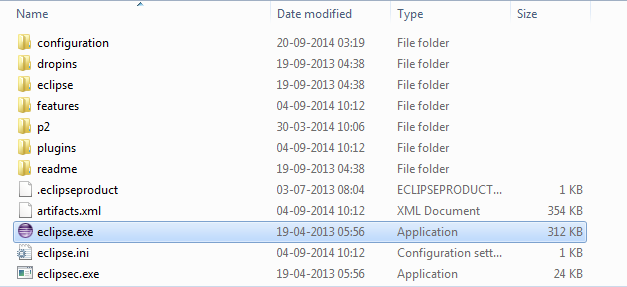
Start Eclipse – Start eclipse by clicking eclipse.exe available in eclipse installation directory.
Once eclipse starts it will ask for a workspace. You can create one folder of your own choice and give the path of that folder. Workspace is basically a folder where eclipse will create all of your projects.
3.4 MySQL Driver Download
As we will use MySQL database so we would require mysql driver as well so download mysql-connector-java-5.1.18-bin.jar from http://mvnrepository.com/artifact/mysql/mysql-connector-java/5.1.18 file as well.
Adding libraries in class path-
We can create a lib folder inside the project and place all the jar files inside it. We will see this step in detail when we will write the programs but the intent is keep all the downloaded jar files at one location so can be copied or added in class path when required.
Download and install MySQL database and workbench
As JDBC is about interaction with database, we would need a database. There are several database available in market but and our code will not be tied to any database. We would need a vendor specific jar file and need to configure the database.
I will be using MySQL database in this tutorial because MySQL is freely available, light weight and easy to install.
You can also download and install MySQL from http://dev.mysql.com/downloads/windows/installer/5.5.html . Downloaded file is a executable file and can be installed easily.
MySQL server does not ship with any GUI tool so if you want you can install MySQL workbench as well from http://dev.mysql.com/downloads/workbench . Downloaded file is a executable file and can be installed easily. MySQL workbench provides us a GUI to manage and perform all operations on database.