
Configuring Struts
To run a Struts application following must be configured:
- Install and configure Java
- Install and configure Web Server
- Install and configure any editor (optional)
Installing and Configuring Java:
- Download Jdk 1.8 (current version) from following link:
http://www.oracle.com/technetwork/java/javase/downloads/index.html
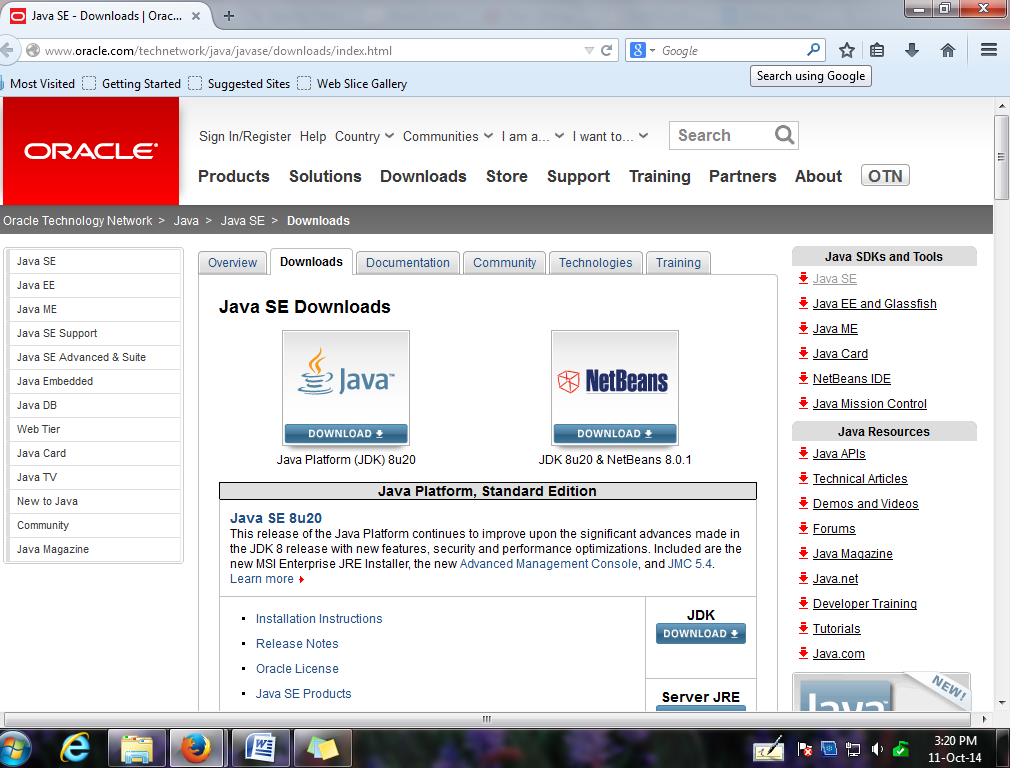
- Install the setup (.exe file) so that the root directory is set as follows:
C: \\ Program Files \\ Java \\ .. (rest of path)
- Setting environment variables:
- Open My Computer properties and select advanced system settings. Go to “Advanced” tab and select Environment Variables.
- Create following user or system variables:
- Name of variable: classpath (case sensitivity matters)
Value of variable: .; (dot and a colon)
- Name of variable: JAVA_HOME (again case sensitivity matters)
Value of variable: Copy and paste the path of Java till the folder jdk. For example, if the Java is installed in C drive -> program files -> Java -> jdk1. 8.0, the value of the variable will be:
C: \ Program Files \ Java \ jdk1.8.0
- Edit the path variable from System variables and append the path of bin (of Java). For example, if bin folder is installed in C drive -> program files -> Java -> jdk1. 8.0 -> bin, the value of the variable will be:
C: \ Program Files \ Java \ jdk1.8.0 \ bin
- Another way of doing above steps is:
- Open C: \ autoexec.bat file.
- And append following lines:
- set PATH=C:\jdk1.8.0\bin;%PATH%
- set JAVA_HOME=C:\jdk1.8.0
- set classpath=.;
- If you are using UNIX with any version of Linux, the setup is generally installed on default user (root directory). For example: /usr/local/jdk1.8.0. For using Struts in UNIX, make following additions to your .cshrc file:
- setenv PATH /usr/local/jdk1.8.0/bin:$PATH
- setenv JAVA_HOME /usr/local/jdk1.8.0
- setenv classpath .;
Installing and Configuring Web-Server:
- There are many types of web-server available for running web applications in Java such as:
- Apache tomcat
- Racket
- Adobe Jetty
- Resin – Resin soft
- Sun JWS
- IBM WebSphere
- Any of the above mentioned web-servers are feasible to use with web application development using JEE.
- In our tutorial we will be demonstrating Struts applications using Apache Tomcat web server.
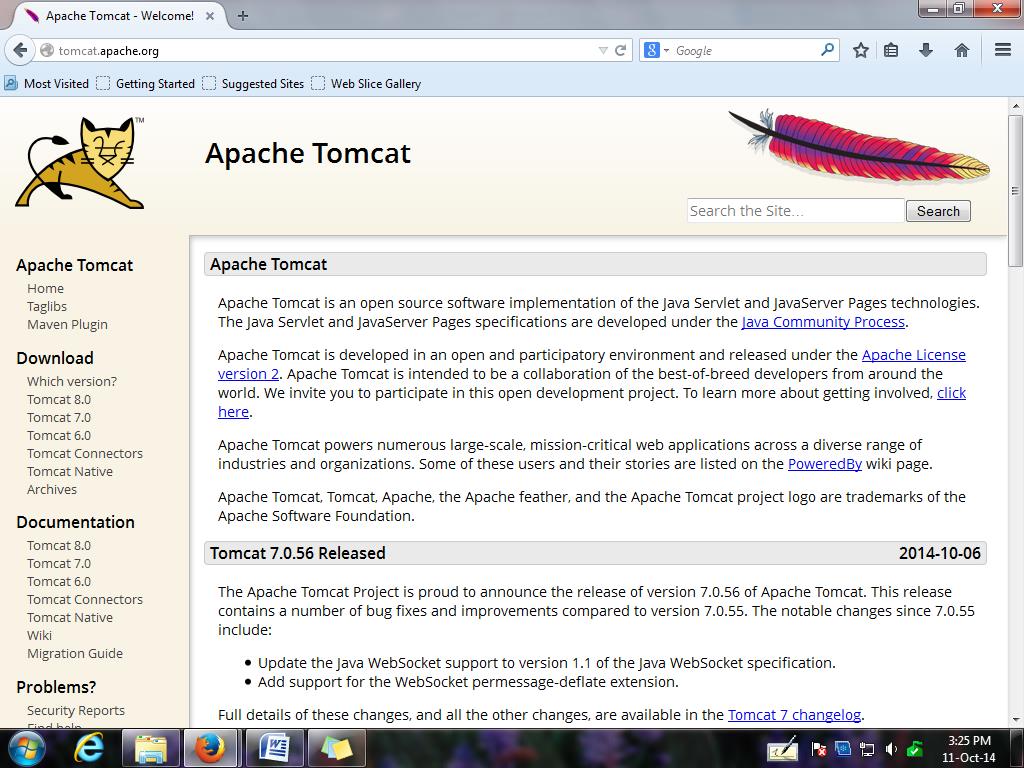
- The steps for installing Apache Tomcat web server are as follows:
- Download Apache Tomcat from http://tomcat.apache.org/ website. The current version is Tomcat 8.0. Previous available versions are Tomcat 6.0 and Tomcat 7.0. Make sure you download the version compatible with your Operating System bit (i.e. 32 bit or 64 bit).
- Moreover, the web server performs better if you download the version of web server compatible with the version of installed jdk. For example:
For tomcat 6 -> jdk to be used can be of version 1.6
For tomcat 7 -> jdk to be used can be of version 1.7
For tomcat 8 -> jdk to be used can be of version 1.8
- Another link from where the web server can be directly downloaded is:
https://code.google.com/p/npackd/downloads/detail?name=org.apache.tomcat.Tomcat-7.0.27.exe&
- Install the web server by .exe file. The server will get installed in root directory. For example:
C: \ Program Files \ Apache Software Foundation \ Apache Tomcat 8.0
- Setting environment variables (as previously mentioned): Create following system variable:
- Name of variable : CATALINA_HOME (case sensitivity matters)
- Value of variable : copy and paste the path till tomcat folder. For example, if your server is installed as :
C: -> Program Files -> Apache Software Foundation -> Apache Tomcat 8.0, copy and paste this location in value of variable.
- To make understand your JRE about running the server applications,
- Copy servlet-jar from C:\ Program Files \ Apache Software Foundation \ Apache Tomcat 8.0 \ lib and paste it to C:\ Program Files \ Java \ jdk1.8.0 \ jre \ lib \ ext
- To dedicate a single port number for your web applications:
- Change the port number of the tomcat server to 8084 from: C:\ Program Files \ Apache Software Foundation \ Apache Tomcat 8.0 \ conf -> server.xml. The default port number allocated is 8080.
Edit server.xml file as follows:
<!—Connector port details - >
<Connector port = “8080” protocol=”HTTP/1.1” connectionTimeout=”20000” redirectPort=”8443” />
It is not necessary to change the port number. You can leave it as it is if the port is not used for any other applications in your system.