
Android Localization Tutorial
Today we shall learn about Android localization. As we all know android runs on many devices. No doubt that applications using English language will get lot of opportunities as it is a globally accepted language. But why to miss the opportunity available in local market, right!! So localization is all about customization of things. To grab maximum users the application should handle multimedia preferences, text, etc. So let us dive a little deeper in this context. Don’t worry it is not going to be lengthy.
5.3.1 Introduction
The reasons for localization are manifold. For example a commercial application has to cover market globally and might have many markets spread all over the world. We have worked with java. We are familiar with loading XML resources. Android resource framework is used to separate the localized prospects of application from the core java functionality. .
The user interface elements are to be kept in the resource files. It is a best practice to keep most of the contents of user interface separate in the resource files. The way these elements are going to behave is extensively coded in java programming language.
As we know the resources are text, audio, video, layouts, etc. An application includes multiple set of data. Each set can be customized for a specific devie configuration. When app runs the best fit configuration would be selected. The resources are automatically selected and loaded.
5.3.2 Locale
A locale is a short character sequence which includes the language and geographic region. Locale is more about the written language. The ISO format for a locale identifier is a character code which is as follows::
language_REGION
where, ‘
language: It is represented by the first two lowercase characters
REGION: It is represented by two uppercase characters.
For example:
en_US: English, United States
en_AU: English, Australia
:
English in Great Britain and United States are same but the difference appears when we spell them. There are different formats of date and time. For example in United Kingdom is DD/MM/YYYY whereas the date format in United States is: MM/DD/YYYY. As a developer we have to keep in mind all of these things.
We already know about the creation of resources so there is no point of making the topic redundant as I know you want to do few things rather than reading resources.
5.3.3 Strategies for localization
There are few tips about localization and they are as follows:
- Application should be designed to support any locale: Always make sure to include all the images and other requirements of application in res/values and res/drawables folder so that app runs gracefully on all device configurations.
- Flexible layout: Sometimes we may have to rearrange the layout to fit a certain language. We can easily create a different layout to accommodate that language. But it would not be a feasible approach for complex applications. In this case we should opt for flexibility. We can create a field which can be in our control. We can command over it programmatically.
- Manual locale look-up: We should always use a context object for manual look up.
- Resource file and Text strings: We should avoid creating unnecessary resource files and strings of text.
- Identify locale of target and data: If you are developing an application for the local market then the specifications should be different. So one should always keep track of target market.
- Dates, time, and currency, number: While working over data always keep in mind about the date and currency. As all over the world, date and time formats are different. For example India uses the UK format whereas in the same country there are MNCs which uses US format. So one should always keep in mind these differences while developing an application.
5.3.4 Android localization Example
To see the locale, open your IDE and run any emulator. Do as per the instructions and you will find it very easy. Open the settings application. Emulator should look similar to the following snapshot.
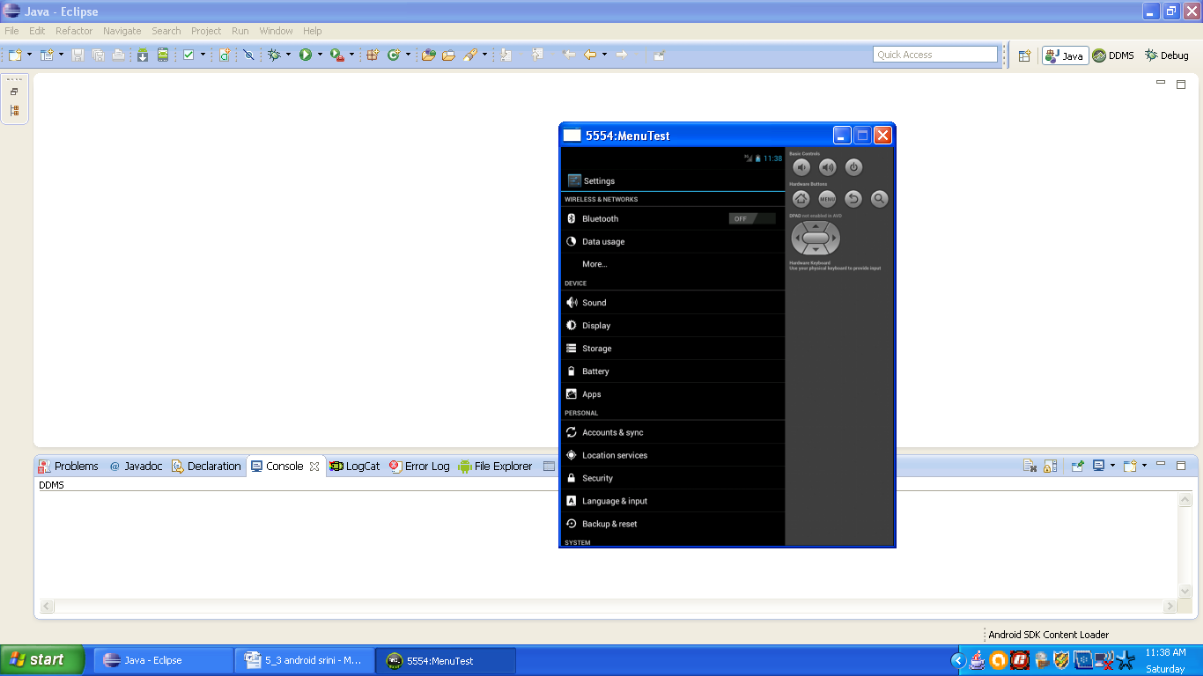
Figure - Settings app
Now select the option Language & input. Then the emulator should look similar to the following snapshot:

Figure - Language & Input option
Now again press the option Language and you can select any language of your choice. The menu of choices should look similar to the following snapshot:
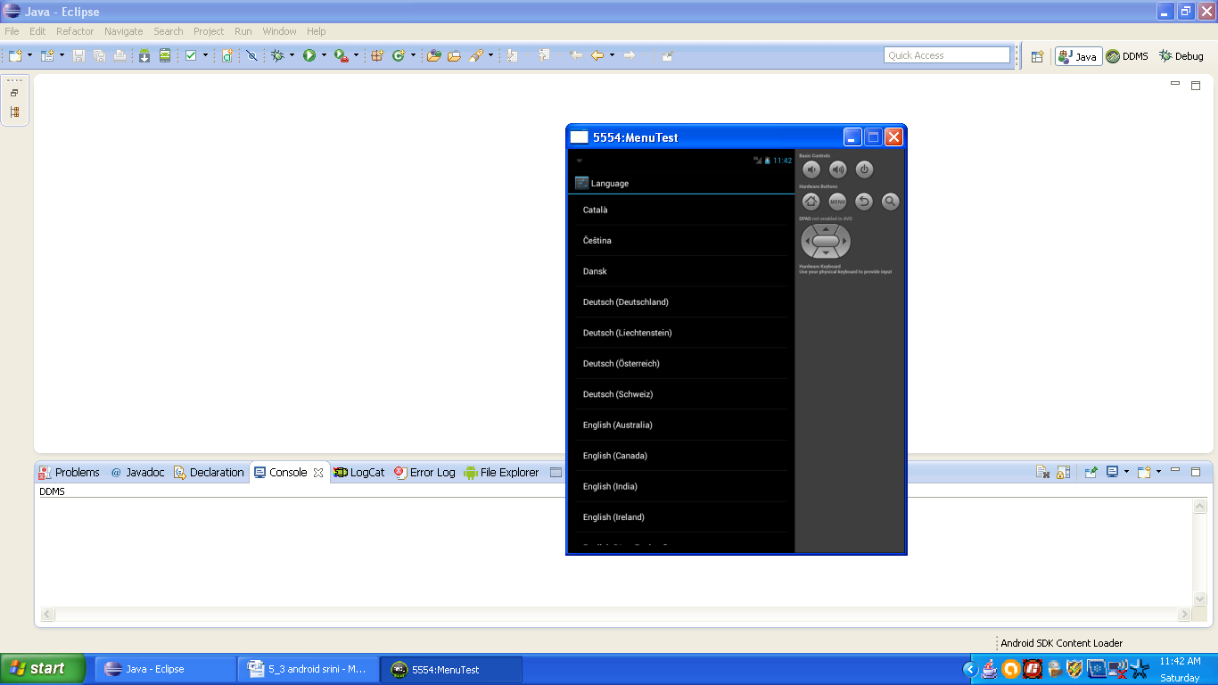
Figure - Available language options
So buddies, congratulations!! We are done with this section. See you in the next section. Keep practicing. Happy App Developing!!!