3.1 Spring Environment
We would need an environment to develop and run both Spring Standalone and Spring web applications. By environment we mean to install all the required software and tools. In this chapter we will discuss how to set up Spring development and runtime environment.
Following tools and software are needed.
- Java
This step involves
- downloading and installing Java version 7
- setting environment variables (JAVA_HOME and PATH) appropriately.
All the details are covered in Section 3.2.
- Apache Tomcat web server
This step involves downloading a server and will be required to run Spring web framework applications. It is covered in Section 3.3
- Eclipse ( Integrated Development Environment Set Up)
This step involves installation of Eclipse IDE. Refer section 3.4 for more details.
- Tomcat Integration with Eclipse
This section is more of integration of tomcat with Eclipse so it can be managed from eclipse itself. Details available in section 3.5.
- Verify the development setup
This step involves verification of the installation.
- Download and install Spring Framework libraries
This section outlines the steps to download required Spring jar files and placing them at appropriate location. Details available in section 3.6.
3.2 Download and install Java.
Java is available in two editions (Standard Edition J2SE and Enterprise Edition J2EE ).For J2EE features like EJB, JMS,CDI etc , we would need Enterprise Edition(J2EE).Java is freely available for download for all operating systems on Oracle’s Java website so you need to download the latest version from http://www.oracle.com/technetwork/java/javase/downloads
Follow below steps to install both JDK and JRE.
(JDK is java development kit required to develop the programs where as JRE is java runtime environment needed to run the programs )
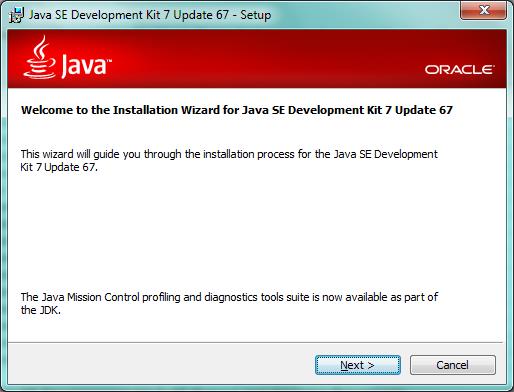
In this tutorial I will follow the instructions for Windows Operating System. I have downloaded and installed java version 7 (refer below figure).

Download the executable file depending on operating system (windows 32 bit or windows 64 bit )and install it. This is quite simple but one thing that you need to do is setting the environment variables.
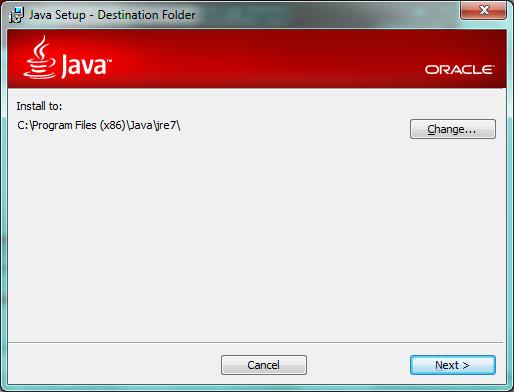
Below are the screens that you will see while installing Java on your machine.
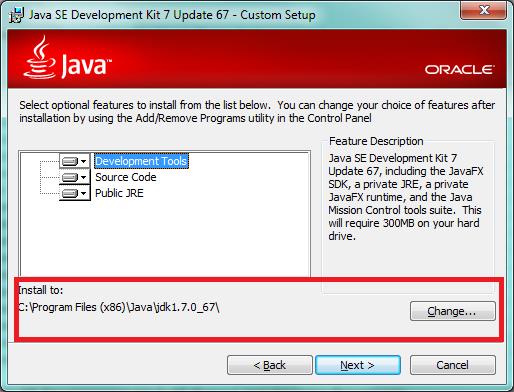
Change the path on next screen if you want to (highlighted in below figure) . I have installed it at C:\Program Files (x86)\Java\jdk_1.7.0_67 location
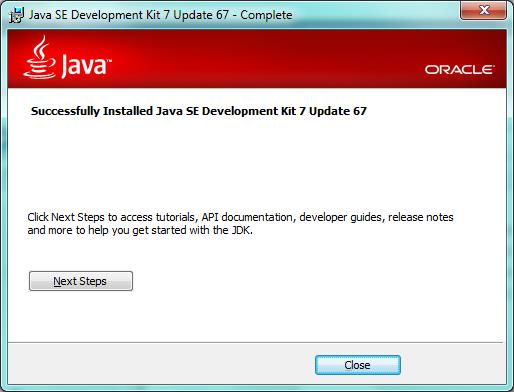
Click Close.
Now you need to create and update below environment variables.
a)JAVA_HOME – Create a new environment variable JAVA_HOME and set its value to the installation directory of Java. For example if you have installed it in “C:\Program Files (x86)\Java\jdk1.7.0_67“ , you need to set its value as C:\Program Files (x86)\Java\jdk1.7.0_67
b) PATH- This is an existing environment variable and you just need to update it. Add the JAVA_HOME variable with bin.
Example – if JAVA_HOME is set to C:\Program Files (x86)\Java\jdk1.7.0_67 then Path variable will be updated with
PATH=%PATH%;C:\Program Files (x86)\Java\jdk1.7.0_67/bin;
Alternatively
PATH=%PATH%;%JAVA_HOME%/bin;
Other way to set the environment variable on windows platform is
Right Click On My ComputeràPropertiesàAdvanced system settingsàEnvironment Variables
You can add it either as a User variable or a system variable. Only difference is that System Variables will be available to all users of the system.
Other way is to add below lines in C:\autoexec.bat
set JAVA_HOME= C:\Program Files (x86)\Java\jdk1.7.0_45
set PATH=%PATH%;%JAVA_HOME%/bin;
Note - C:\Program Files (x86)\Java\jdk1.7.0_45 is example value. You need to use you own java installation directory path
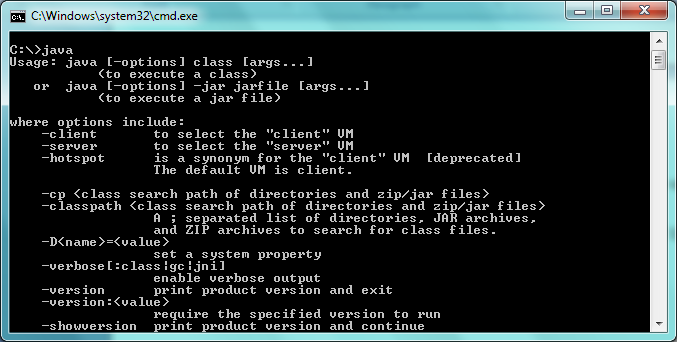
Verification- You can verify the java installation by opening a command prompt and type a java . If everything is correct, it will show you several java options (refer below figure)