
10. Using JUnit in a java project
10.1 Add Junit to a java project
10.2 JUnit – testing Ejbs
10.3 Launching tests with test runners
JUnit isn’t part of the standard Java class libraries, but it does come included with Eclipse.
10.1 Add Junit to a java project
Unit tests are created in separate projects or separate source folders in order to avoid the mixing of the normal code with test code.
Common code such as getter and setter methods for assigning values should be ignored because the java virtual machine will test such methods.
The tests should be written for critical and complex part of the application. A test suite should protect against regression and introduce new features.
Eclipse allows developers to use the version of JUnit which is integrated with Eclipse. No additional setup is required.
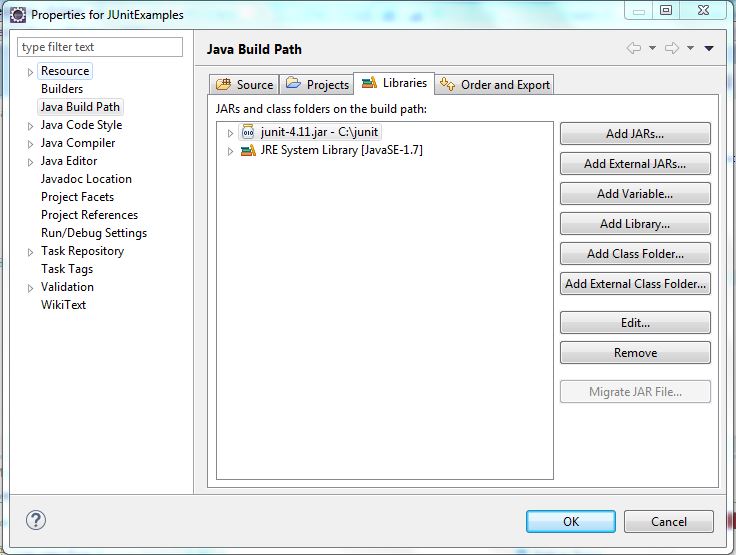
If the project is not Maven type, then click on Property > Build Path > Configure Build Path and add the junit-4.10.jar in the libraries using Add External Jar button.
In case of Maven type projects, unit testing and integration testing is part of the build lifecycle. JUnit can be added as dependency:
<dependency>
      <groupId>junit</groupId>
      <artifactId>junit</artifactId>
      <version>4.11</version>
      <scope>test</scope>
</dependency>
The version 4.11 is only a suggestion.
The tests can be skipped by setting the skipTests property to true:
<plugin>
    <groupId>org.apache.maven.plugins</groupId>
    <artifactId>maven-surefire-plugin</artifactId>
    <configuration>
       <skipTests>true<skipTests>
    </configuration>
    <version>2.10</version>
</plugin>
The tests can be skipped also via command line by executing the command
mvn install –DskipTests
In Eclipse the check the option Skip tests:

Test Cases can be created in Eclipse in Package Explorer area on the left side of Eclipse window. Right – click on the class you want to test, click New > Other > Java > JUnit > JUnit Test Case

In the next window will appear a dialog box to help to create the test case. Make sure that the option is set to use JUnit4, not JUnit3. Click Next:

The next window will indicate which methods can be tested. Eclipse will help you to create stub test methods you can fill in. Choose the method and click Finish.

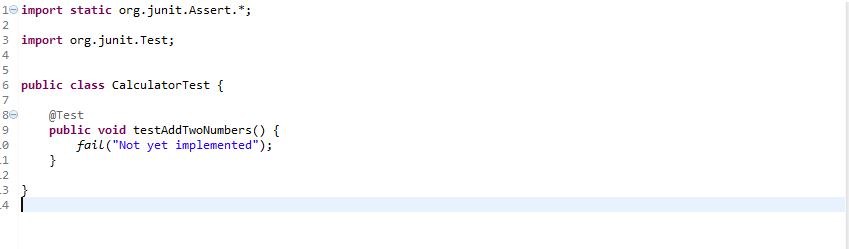
A new JUnit test case is created:
Each unit test method from JUnit test case file should test a small aspect of the behavior of the class that is under test.
public class Calculator {

    public double addTwoNumbers(double first, double second){
         return first + second;
     };
}

import static org.junit.Assert.*;

import org.junit.Test;
import org.junit.After;
import org.junit.Before;

public class CalculatorTest {

    private Calculator calc;

    @Before
     public void setUp() throws Exception {
      calc = new Calculator();
     }
     @After
     public void tearDown() throws Exception {
      calc = null;
     }
    @Test
    public void testAddTwoNumbers() {
        double result = calc.addTwoNumbers(10.5, 20.32);
          assertEquals(30.82, result, 0);
    }
}
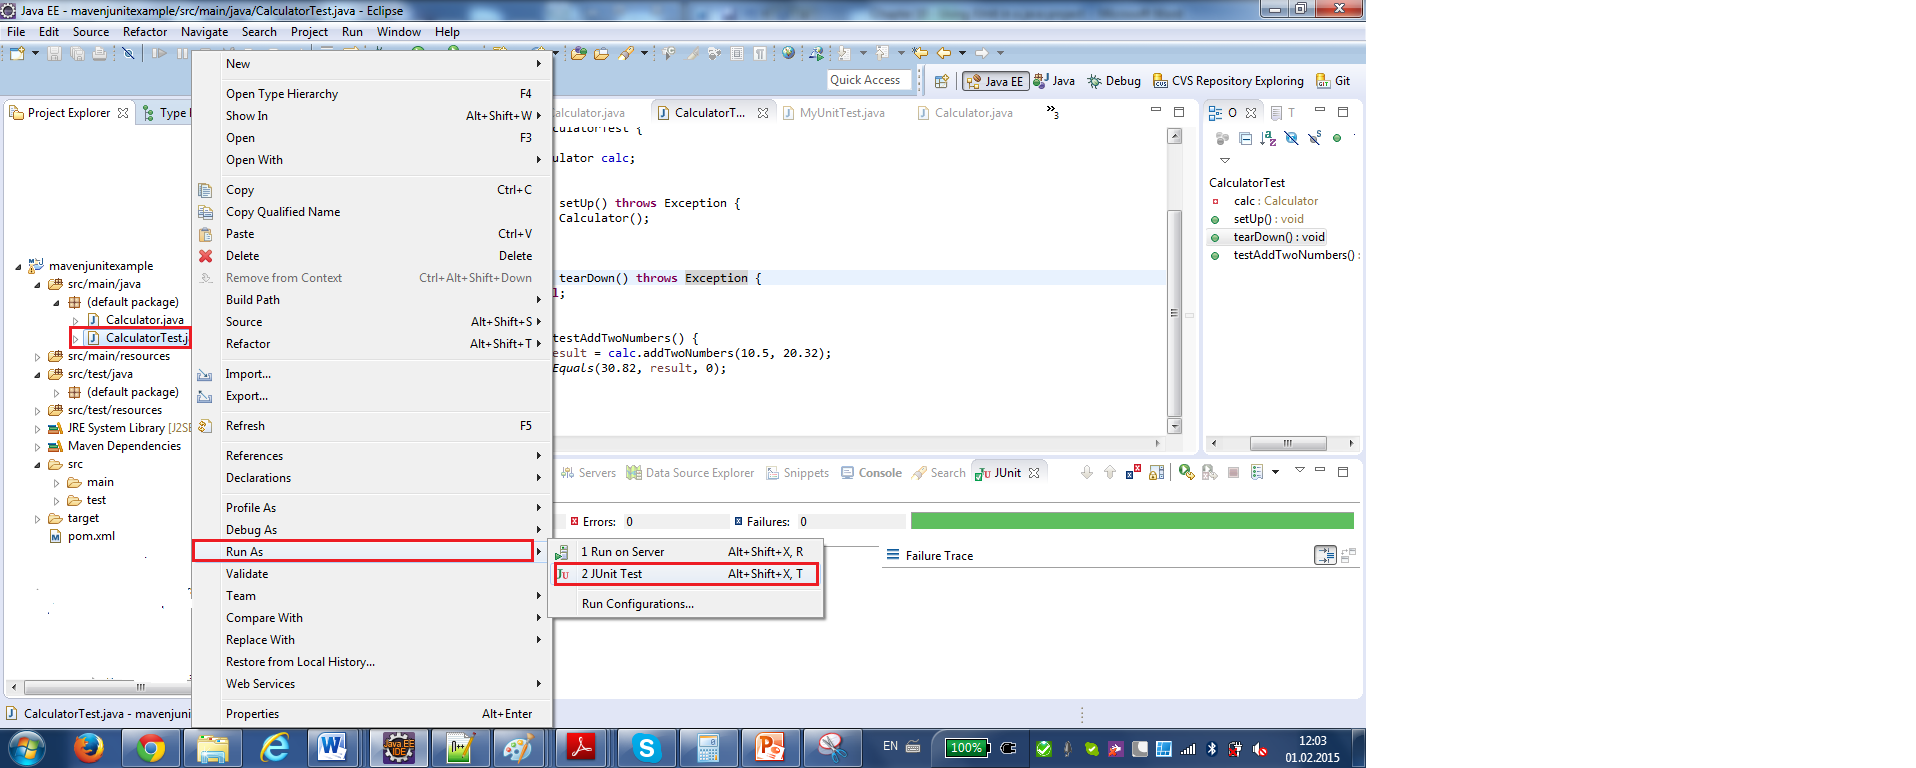
Run JUnit test case by clicking right on the test class > Run as > JUnit Test :
JUnit console the result is:
